QSO entry 2
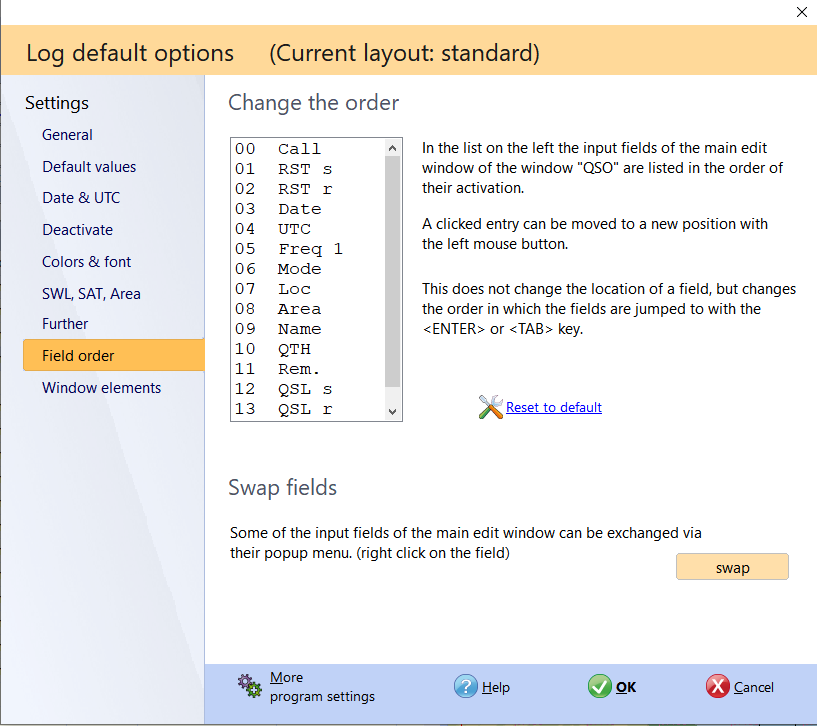
Pic below:In the main part of the QSO input you can now change the order in which the fields are jumped to. ( Tab order )
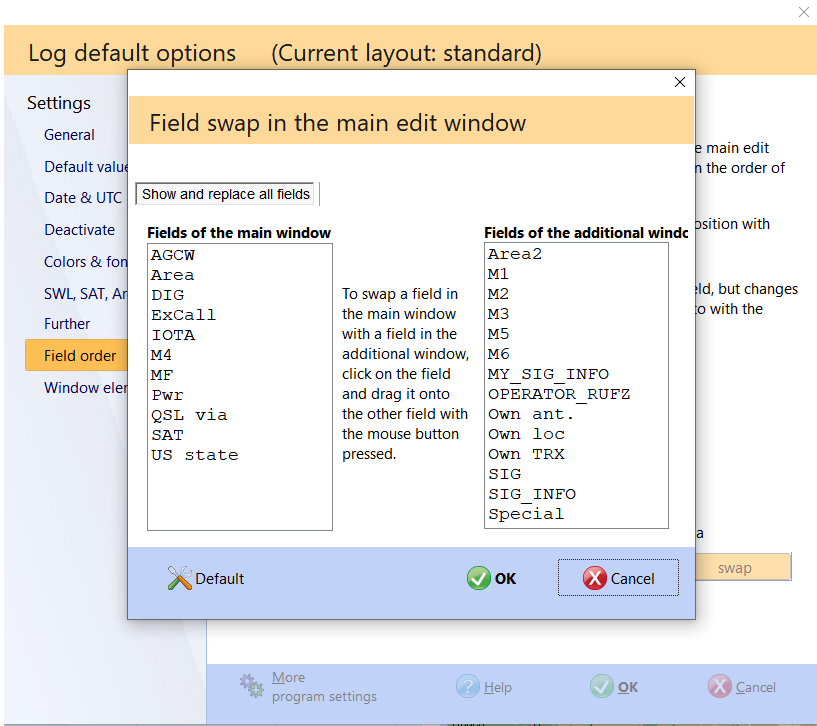
Pic below: Fields can also be swapped . For example, if you don't want the AGCW field in the main input mask, but rather one of the additional fields, you can use this to exchange both fields.
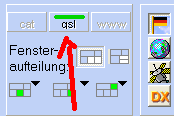
Pic above:If a scanned QSL card was found for a QSO, this is indicated by a green line in this switch. After pressing this switch it is displayed. The program also searches for JPG files in the QSLFotos folder and displays them. It is important that the JPG file has the callsign as a name (eg DL0HAM.JPG).
Pic above:In the program options you can define additional fields for log or membership. You can also specify there whether it should be a link field . These fields automatically link the text content with the appropriate program. In the figures, the M1 field was named "EMail" and set as a link. If you now enter an email address, you can start the email program by clicking on the blue arrow switch.
Pic below:The Name, QTH and Locator fields become selection fields if there is more than one information about a callsign in previous QSOs. By clicking on the arrow switch, a list with the various details opens.
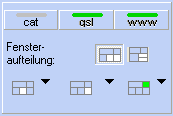
Pic above:The www switch in this window is activated if the program has a homepage for the current callsign in its own database found. A mouse click on this switch opens this homepage.


